Happy end of the school year! (Or not, sorry homeschoolers)
Whatever your situation- we made it to summer! Yay! Our kiddos have learned so much and have overcome a ton of new obstacles in the past few months. Our littles and their families are hardworking warriors, learning brand new skills and becoming accustomed to resources they might have little to no experience with and rolling with it. So whatever lies ahead of us for the future, I know we can all get through anything that comes our way together.
In the middle of the chaos, so many teachers have still been thriving. Connecting with students and families virtually. Learning how to use resources-basically overnight. Putting packets together in just hours. Supporting one another and collaborating together while at home. Losing even more sleep thinking about their students in their homes. Veteran teachers up against an obstacle they’ve never imagined. New teachers ripped from what they had worked so hard to get to. So how can you and your kiddo(s) show appreciation for your teachers while at home? Three words: Jars, paints, & goodies!
This is an affordable yet very meaningful gift you can give to a teacher at the end or beginning of the school year, to a recent college grad, or as a random heartwarming gift. And despite the cutesy pictures, they really don’t require a lot of artistic ability! The No.1 supply you must have is patience. Painting these three pretty jars took quite a bit of time because I wanted to make sure they looked as best as they could. Here’s the rest of my supply list so you can get started:
- Clear, plain Mason Jars (any size you’d like, or any other glass jar with a wide mouth)
- Drop cloth/empty Amazon box/old T-shirts
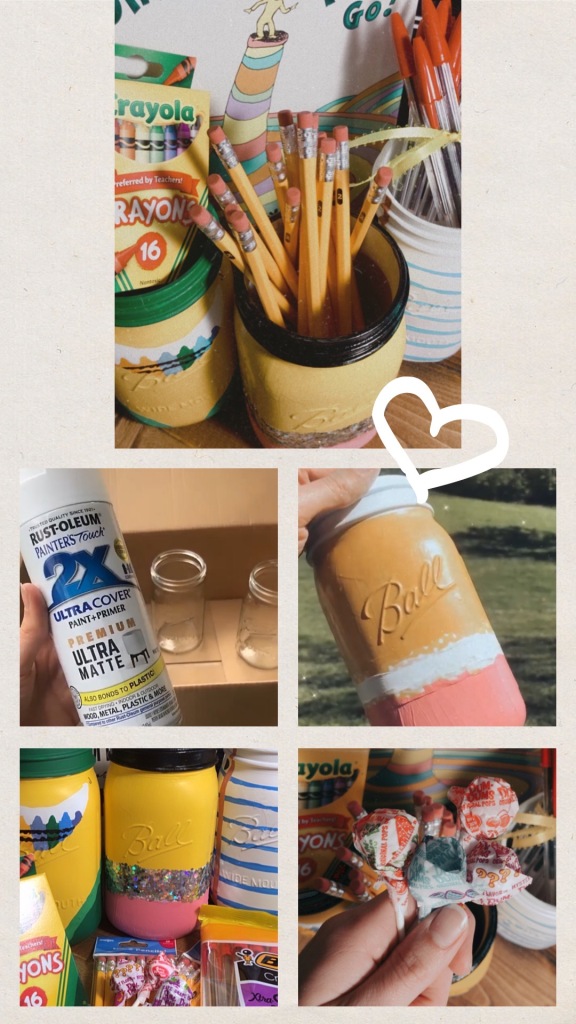
- White spray paint + primer (I used Rust-oleum Painter’s Touch 2x Premium Ultra Matte White)
- Yellow, black, red, pink, blue (various shades), white and green acrylic paint
- Fine detail paint brushes
- Washi tape (Optional if you prefer crisp, clean lines)
- Commonly used classroom supplies, i.e. No.2 pencils, crayons, pens, notepads, paperclips, candy, etc.
- Loose glitter (y’all, be careful when you open this… totally not speaking from experience lol)
- Clear glue
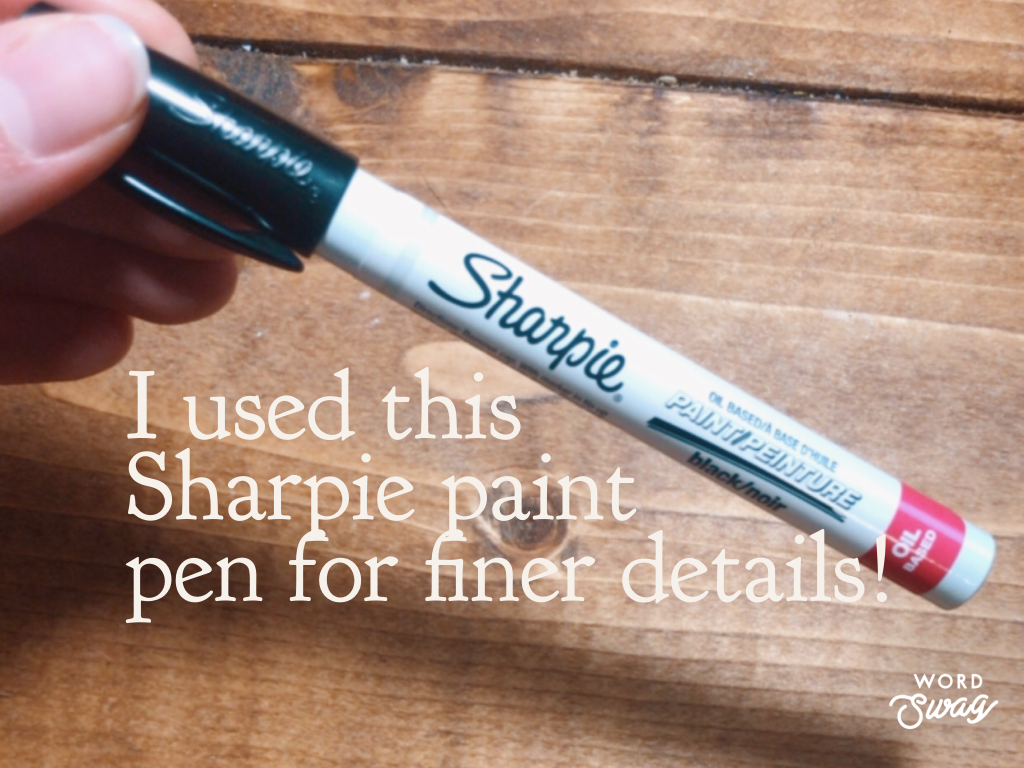
- Paint pen (optional if you have finer details)
- Cute ribbon (optional)
So first things first: make sure you spray paint OUTSIDE. Follow the directions on the can carefully. If a naturally clumsy person like me can do it without entirely painting myself or my yard, so can you! I did this on a sunny afternoon and let the jars dry in the Amazon box in the sun after spray painting one coat on them. I put two thick coats total on each jar, but you can do as many coats as you would like to make sure that your base white is even and opaque. Next, decide what design you’d like that might appeal to the teacher you’re gifting it to. For me, these three jars were gifts to three of my friends who graduated with me with degrees in Elementary and Special Education. So I decided one jar would be a pencil, one look like a sheet of lined paper, and the other a crayon box. I also decided this based on some staple classroom items that I knew would easily fit in the jars so I could coordinate! If you decide to make the same three jars, here are a few tips I used when creating them.
Pencil Jar: (after base white primer is completely dry) Start by using washi tape to separate each part of the pencil and to leave enough space for the “metal” part of the pencil. This helps create cleaner lines. When you go to fill in the metal part with glitter, I poured the clear glue and loose glitter into a bowl and mixed well. I found this to be an easy way to “paint” the glitter on if you don’t have actual glitter paint.
Crayon box jar: Make sure to use the smallest brush you have when painting the crayons, and let each crayon dry before painting another. To achieve a black squiggle label on the crayons, grab your paint marker and draw two straight lines across the crayons at least a centimeter apart. To make the inner squiggle, I just drew alternating half circles on the lines with even spacing between each half circle.
Lined Paper Jar: To make your blue paper lines crisp, you can wrap washi tape around your jar. Or, if you start to lose patience at this point like me, you can just use your finest paint brush and very carefully turn your jar while painting each line. Undoubtedly not at crisp and straight as they would be if you used the washi tape, but also much faster! Since I used 2 coats of white paint+primer, I just painted my lines directly on the white.
Once your jars are completely dry (I let them dry overnight), it’s time to add goodies! To coordinate, I stuffed No.2 pencils in the pencil jar, red pens in the paper jar, and two crayon boxes in the crayon box jar. If you use a particularly large jar like mine were, I stuffed candy suckers in the bottom of each. This not only helps your supplies peek out of the top, but also is a nice little surprise and pick-me-up for your teacher! To add a little extra razzle-dazzle, you can tie a pretty ribbon around the top of your jars or supplies and add a cute label with your teacher’s name.
All in all, each jar cost under $20, and can be even less if you get creative with what supplies you already have at home! I hope this fun, affordable crafty gift inspires you to show appreciation for the teachers in your life! I’d love to see the results of your own creations, too! xx Allison
